

Hey folks!
In today's video, I'm showing how to make a shaped card. With the right die, making the actual shape of the card is super easy. All of the fun is designing your card to fit or compliment the specific shape of it!
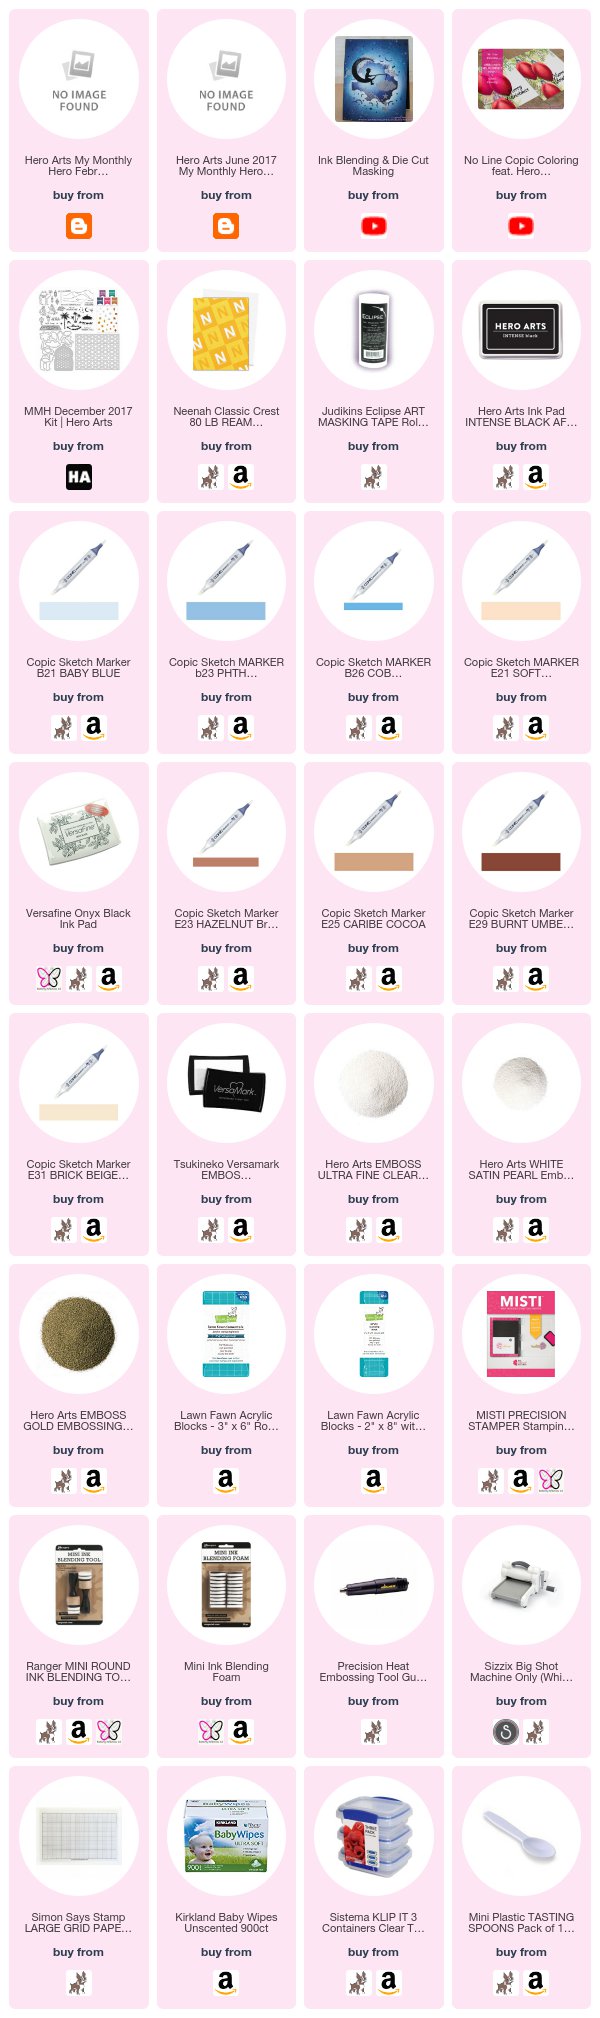
If you're interested in any of the products I've used, I have links (some affiliate links) throughout and at the end of the post. Click HERE to read my full disclosure policy.

I know it's a little late to be getting this out there, but I've had the Hero Arts MY MONTHLY HERO December 2017 kit sitting on my table through the holidays and I have been enamored with it since I got it. NO way was I going to pass up the chance to use it. I believe this kit may still be available. It was at the time I wrote this post. Be sure to check it out HERE. I highly recommend that you sign up for the MMH kits. They are always fab!
You can watch the video on how I made my cards HERE. You can also click on the thumbnail link below.
For my card today, I really wanted to capitalize on the shape of the die that came in the kit. This is one of my favorite tricks to do when I make cards (although I don't do it very often). I think it really had a lot more interest to the finished card.
With the die, I ran a single layer of Neenah SOLOR WHITE 80# Cardstock through my Sizzix BIG SHOT and I also die cut a top folding notecard. I show in the VIDEO, how I do this, but you simply extend the top of the die a little ways passed the fold line of the card base and run it through your die cutting machine.
On the card panel, I stamped the sand dune with Hero Arts INTENSE BLACK Ink, because I knew I was going to Copic colors those. I went for a more traditional color palette for this scene and used E21/E23/E25 and E29. My E21 was running low on ink, so I went over it one last time with an E31 so all of the colors would blend nice.
I also made a mask of the dunes with Judikins ECLIPSE Masking Paper.

The kit came with 5 ink cubes and I gotta tell ya folks, they are LOVE-LY. They are: Sapphire, Teal Topaz, Pink Tourmaline, Ruby and Tiger's Eye. After I masked off the dunes, I used a Ranger MINI BLENDING TOOL and ink blended the blue, purple and teal above the masked sand dunes. I went pretty dark, because I really wanted to reinforce the night theme.
Then, using the MISTI STAMPING TOOL, I heat embossed the pond, and small palm trees with Versafine ONYX BLACK Ink and Hero Arts CLEAR Embossing Powder. For the moon and stars, I used VERSAMARK Ink and Hero Arts SATIN PEARL Embossing Powder.
I die cut the large palm tree from Neenah SOLAR WHITE Cardstock and heat embossed that with Versafine Onyx Black and Hero Arts CLEAR Embossing Powder as well. I talk more about that in the VIDEO.

To finish up my card, I added heat embossed the sentiment in Hero Arts GOLD Embossing Powder on Gina K BLACK ONYX Cardstock. Then I added some 3M FOAM Tape to the palm tree and sentiment strip and called it a day.
You cloud add more embellies to this, however, after I added a little bit of Nuvo AQUA SHIMMER Glitter Gloss to the highlights of the pons, I really felt it was a done deal. Also, this isn't a very big card. Bigger than a tag, a lil smaller than a notecard. You can only pack so much on it folks. You can get a good idea on the size in the VIDEO.
That's it! Easy peasy.
I hope you enjoyed my cards today! DISCOVER more projects on my Youtube Channel. Do be sure to subscribe if you haven't and also tap that notification bell so you don't miss any future videos. As always Thanks So Much for stopping by!
Until next time!


Post a Comment